The problem with having the hobby of wood turning is that after a time you keep getting requests to make things.
Karen has been requesting a set of turned wooden coasters for our lounge for some time now.
As with all such requests they get put on a back burner until time or inclination allows.
Well after too many questions about when I would make them and finally agreeing that the ones we were using in our lounge were looking tatty I set about making a set.
I chose Oak for two reasons, one our lounge furniture is Oak and secondly I had some Oak squares left over from a recent purchase of wood blanks for turning on ebay.
Making The Coasters
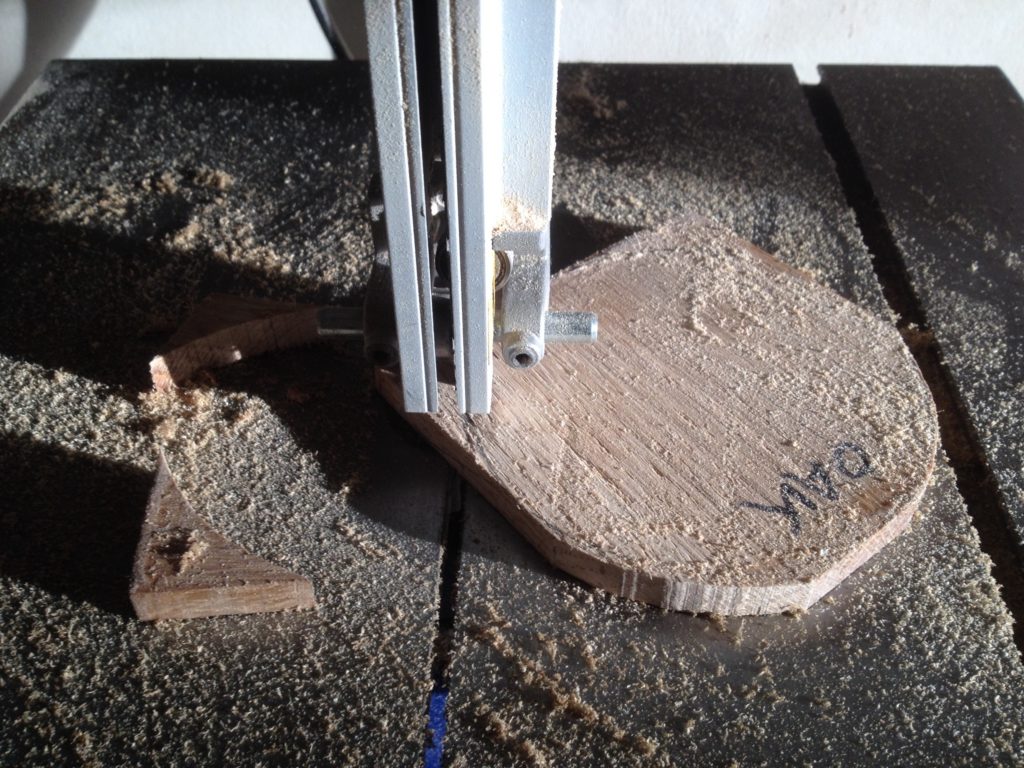
I started by cutting the six coasters from the square block of oak on my Charnwood Bandsaw.
This bandsaw is a recent purchase and performs well.
Once I had my even square coasters it was time to cut off the edges ready for turning.
Then came the challenge of turning them.
I am still a beginner and often have great difficulty working out the best way to attach items to the lathe. Large pieces are easy if I can screw them to a back plate but thin items such as this often fox me.
How would I avoid screw holes on thin items?
The base was easy to attach to the lathe as it was thick enough to take screws attached to a back plate.
Once again a chat with my brother Mike who is into model engineering which you can follow on his blog Mikes Models came up with the solution.
Carpet tape.
Yes I was very concerned at this idea at first. His suggestion of attaching carpet tape to a circular blank held in a chuck would overcome the need for any screw holes and he assured me for small pieces the tape would hold it firm.
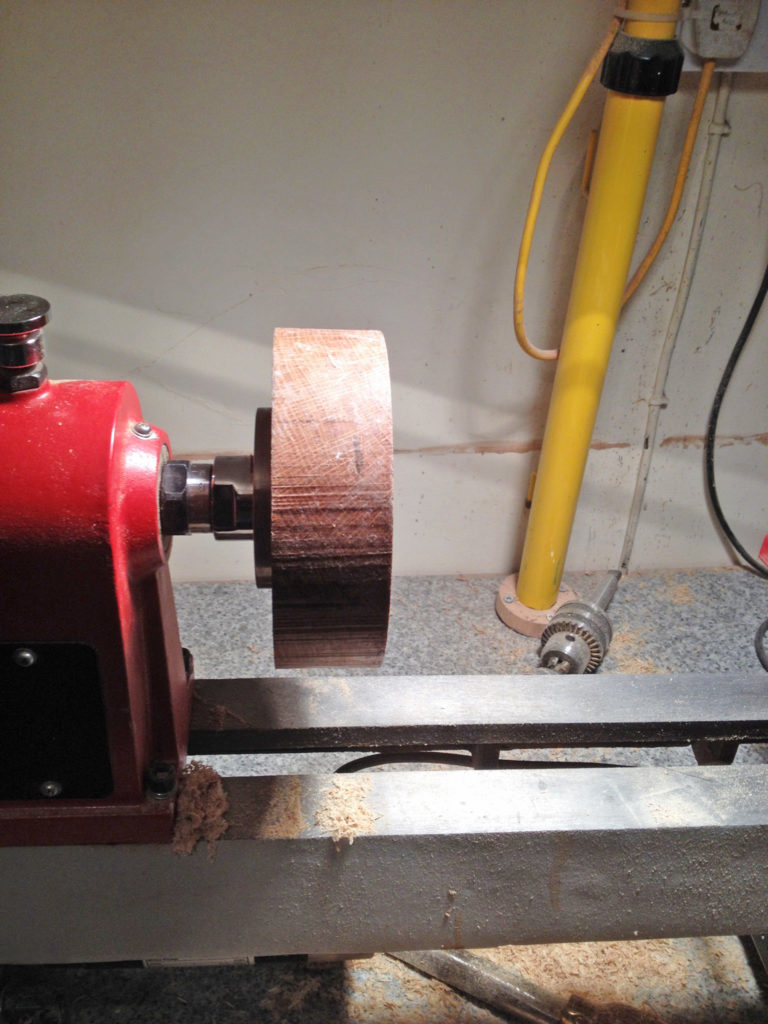
Wary of it flying off the lathe and causing damage or injury I proceeded to turn an old blank off cut so it had a perfect flush face and was smaller in diameter than the finished coaster would be.
Next I then attached the double sided carpet tape to the blank and trimmed it to shape whilst held in the jaws of the chuck.
I them made sure the coaster blanks had all the edges removed in the bandsaw to reduce the risk of snagging.
Then I attached my first coaster blank to the tape. I donned my safety mask and set the lathe turning slowly.
To my surprise it worked. (sorry Mike I should have believed you)
The tape held firm and I was able to increase the rpm to normal turning speeds and there was no hint of any movement. (Disclaimer – whilst this worked for me I cannot be held responsible for any accidents or injury should you try the same)
Tip
For turning small items consider using carpet tape attached to a blank to avoid screw holes (at your own risk of course)
Turning The Coasters
As the blanks were almost round it will be no surprise they were turned very quickly.
Care needed to be taken to make them all the same diameter.
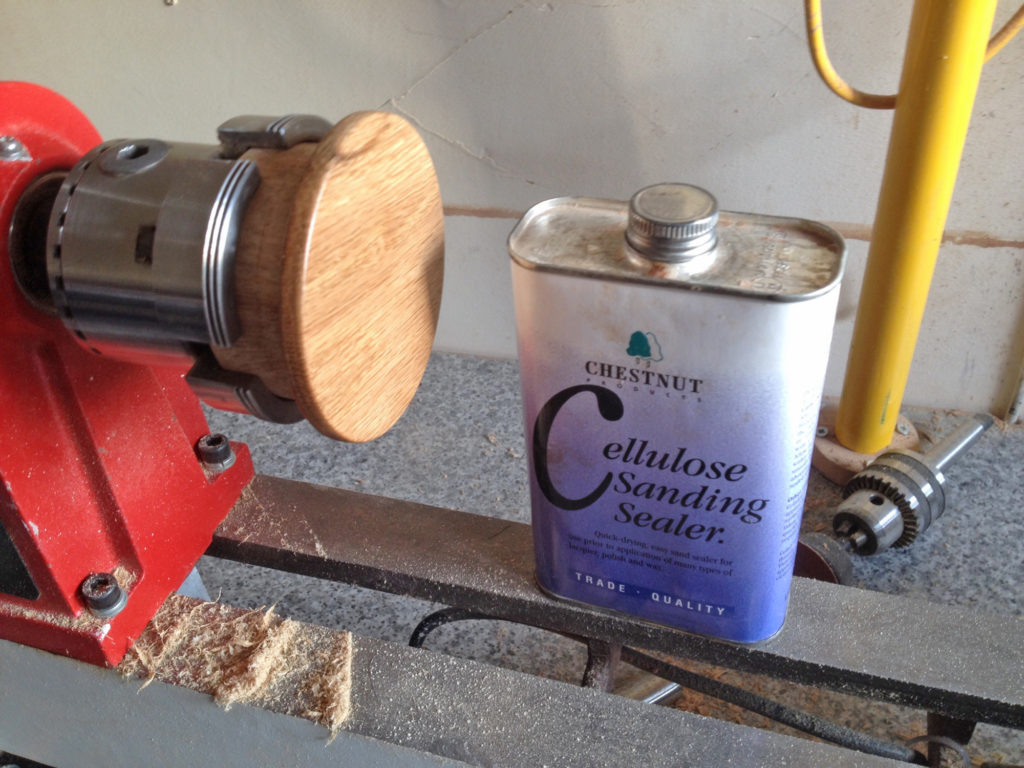
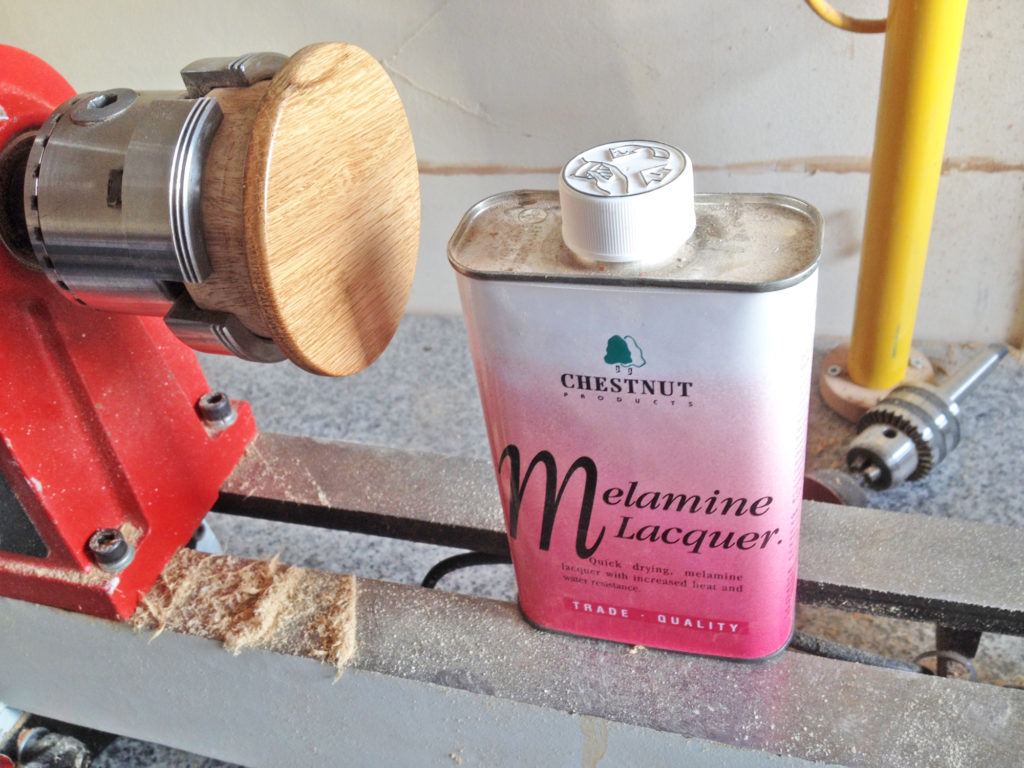
They were then sanded to 600 grit and sanding sealer and a couple of coats of melamine applied.
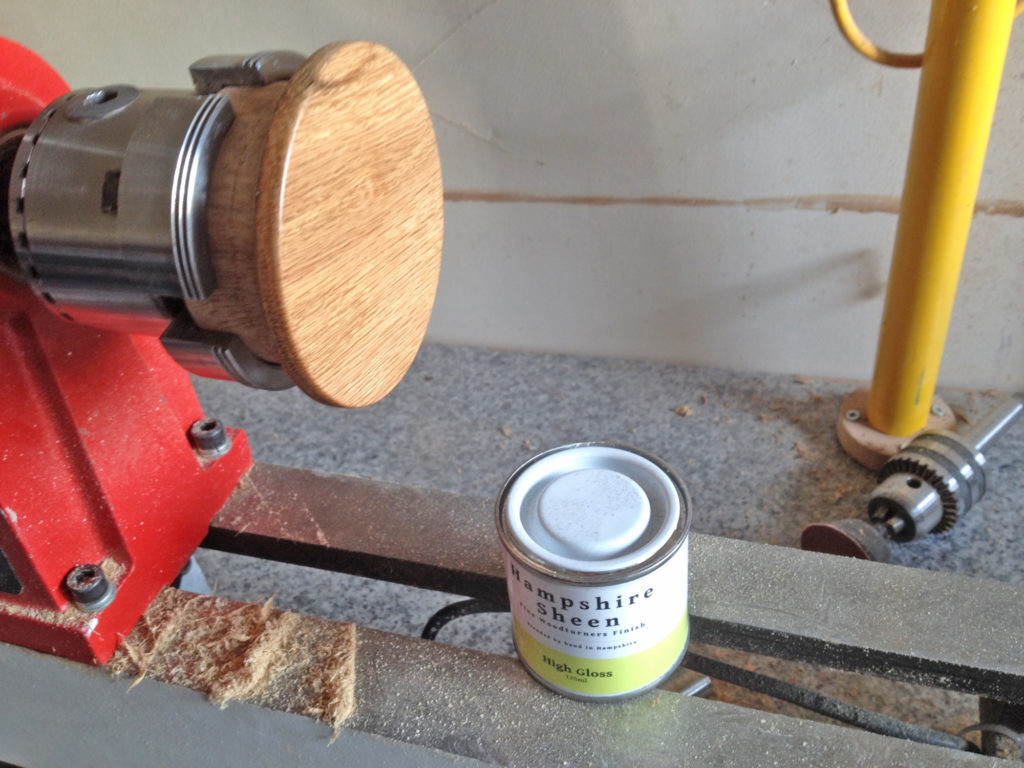
A finishing coat of Hampshire Sheen was applied to give a nice sheen.
Applying The Finish
This product I purchased as a small sample tin at a tool fair at Exeter recently from the gentleman who actually makes it.
This is the first time of using it. It is made of a blend of Danish Oil, Canauba and Micro Chrystaline Waxes and seems to work quite well.
You can learn more about Hampshire Sheen by clicking the link,
I was going to turn separate pillars to insert in the base to make a frame to hold them all in place.
First prototype
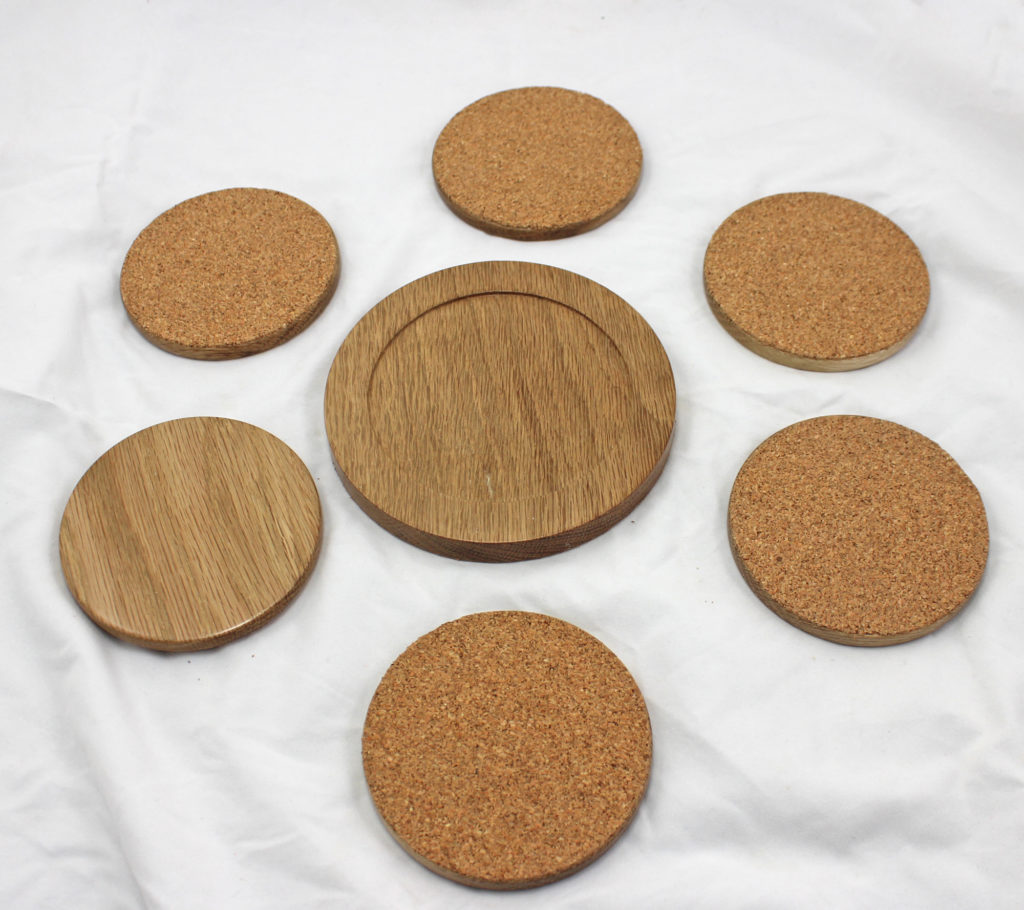
However I found that the plain oak slid around the table when I tested one of the coasters on its own so then I came up with the simple idea of applying a cork base to each.
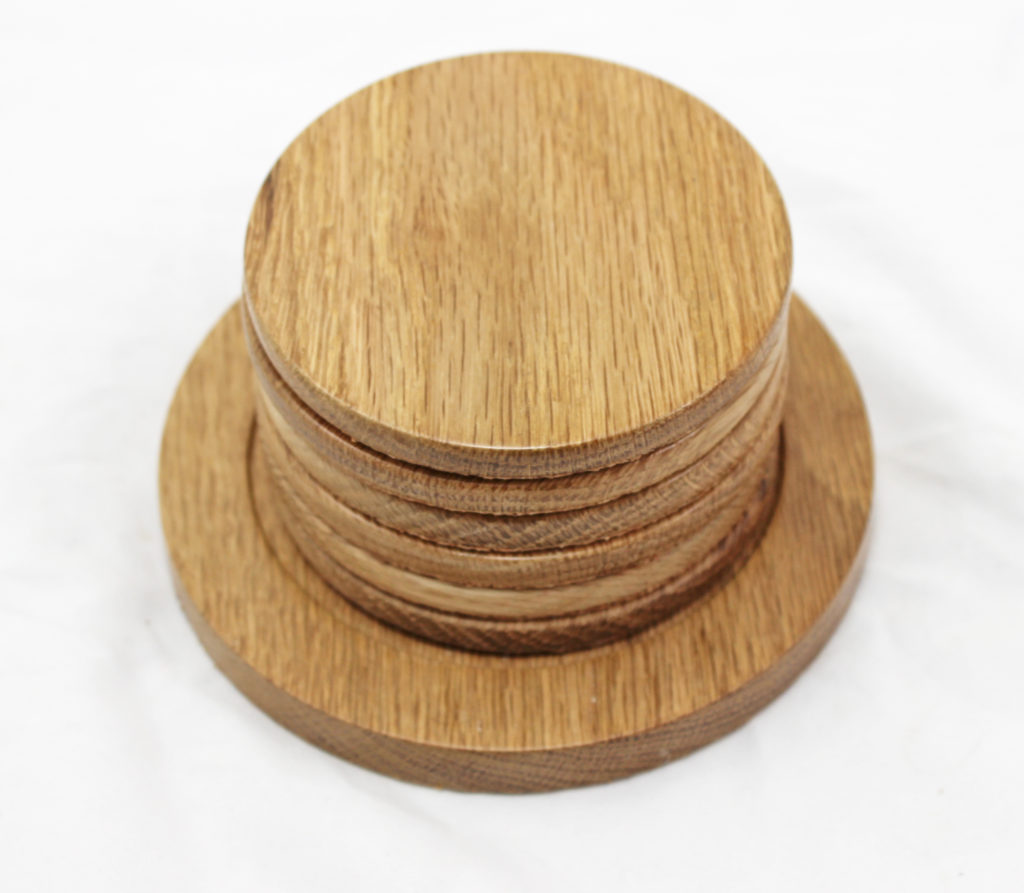
This simple solution did away with the need to make any framework as once all the coasters were stacked one upon the other they held their shape firmly.
The cork I purchased on ebay and chose 1mm thickness as I did not want the cork to overpower the oak.
I bought it in three roles and I now have plenty left over for similar projects in the future.
Another unintentional benefit of using cork was that I did not need to finish the backs of each coaster.
This was helpful as there was a small residue of carpet tape glue on each despite carefully removing the coasters from the tape with a sharp knife.
Wood Coasters With Stand In Oak
The base was turned from another Oak blank from the same batch and finished in the same manner.
I shaped a small indent in the base to stop the coasters sliding about.
I now have a nice set of 6 oak coasters sitting on the tv table in the lounge and Karen was very pleased with them.
They cost me just over £2 for the wood, about another £2 for the cork, sanding and finishing materiel, so about £5 should cover the basic cost excluding my labour.


")


Leave a Reply